Make Your Own Coloring Page When You Can't Find the One You Want
You have spent twenty minutes searching for a coloring page of a specific character, a particular animal, or a scene from your child's imagination, and you have come up empty. Stop scrolling and start generating: use the free AI image generator to create a custom black-and-white line art image in seconds, then resize it to A4 or US Letter and print it at home. This approach gives you exactly what you need, even when the official pages do not exist.
For example, if you need a page of a dragon reading a book, you do not have to settle for a generic dragon. With the right prompt, you can get a unique, print-ready design that matches your vision. The process is simple, and the results are only as good as your prompt, so let's break down exactly what to type and why each part matters.
What to Put in the Prompt and Why
The secret to a good AI-generated coloring page is specificity. A vague prompt like "dragon" will give you a detailed illustration with shading, gradients, and grey areas that will not print well. Instead, you need to command the AI to produce clean, bold line art on a plain white background. Here is the exact structure to follow:
Start with the subject. Name the character, object, or scene clearly. For instance, "a friendly dragon reading a book" or "a unicorn prancing in a meadow."
Add the style keywords. After your subject, include the phrase "black and white line art," "thick clean outlines," and "white background." These words tell the AI to avoid color and focus on the outlines.
Include a negative instruction. Add "no shading, no grey tones, no gradients." This is crucial because shading and grey fills print as muddy blocks that crayons cannot cover. Crayons and colored pencils work best on flat, pure white areas, and any grey will make the final printed page look dirty.
Specify the composition. If you want the subject centered or with space around it, say so. For example, "centered on the page with a simple border." This helps the AI frame the image correctly.
Mention the intended use. Adding "for a coloring book page" or "for kids to color" can also nudge the AI toward a simpler, more child-friendly style. But do not overdo it; keep the prompt focused.
Here is a complete example prompt: "A friendly dragon reading a book, black and white line art, thick clean outlines, white background, no shading, no grey tones, for a coloring book page, centered."
Why does each part matter? The subject defines what you get. The style keywords ensure the output is usable for coloring. The negative instruction prevents the muddy blocks that ruin print quality. The composition detail avoids awkward cropping. And the use-case phrase can subtly influence the AI to produce a more classic coloring page look.
Step-by-Step: Create, Resize, and Print
Now let's walk through the entire process from prompt to printed page. Follow these steps, and you will have a custom coloring page in minutes.
Step 1: Open the AI image generator. Go to img.now in your browser. You do not need to sign up or pay; it is free to use. Just type your prompt into the text box.
Step 2: Type your prompt. Use the structure from the previous section. If you are creating a page for a specific theme, like a pony or a mandala, you can adapt the prompt accordingly. For example, "a My Little Pony style pony with a flower crown, black and white line art, thick clean outlines, white background, no shading, no grey tones."
Step 3: Generate the image. Click the generate button and wait a few seconds. The AI will produce an image based on your prompt. If you do not like the first result, you can tweak your prompt and try again. Do not be afraid to experiment with different wordings.
Step 4: Review the output. Look at the image on your screen. Check for three things: clean black lines, a pure white background, and no grey areas. If you see shading or a grey fill, that area will print as a solid block, so it is better to regenerate with a stronger negative instruction.
Step 5: Resize to A4 or US Letter. Once you are happy with the image, you need to resize it to fit standard paper. Use the image resizer tool on the same site. Select the option for A4 (210 x 297 mm) or US Letter (8.5 x 11 inches). Make sure the resolution is at least 300 DPI for crisp printing. If the resizer does not offer DPI, choose the highest quality setting available.
Step 6: Download and print. Save the resized image to your computer, then open it in a PDF viewer or image editor. Print it on plain white paper using your printer's best quality setting. For thick lines, a laser printer works well, but an inkjet is fine too. Just make sure the ink is dry before handing it to a child.
Step 7: Color and enjoy. Now you have a custom coloring page that is ready for crayons, markers, or colored pencils. The bold outlines will guide the coloring, and the white background will keep the colors bright.
What to Do with Your Custom Pages
Once you have created one custom coloring page, you will want to make more. The possibilities are endless: you can make pages for holidays, educational themes, or just for fun. For instance, if you have a child who loves unicorns, you can generate a new unicorn design every day. The AI can also help you create pages that are not available elsewhere, such as a scene with your child's name or a specific hobby.
You can also use this method to create your own collection of coloring pages for free. Instead of buying books, you can print exactly what you need, when you need it. This is especially useful for teachers, parents, or anyone who runs a kids' activity table at an event.
If you are looking for inspiration, consider combining your custom pages with existing collections. For example, you can browse My Little Pony coloring pages for ready-made designs, or Mandalas coloring pages for relaxing patterns. Then, use the AI to create complementary pages that fill in the gaps.
Remember, the key to a great custom coloring page is a well-crafted prompt. Take the time to be specific, and you will be rewarded with a beautiful, print-ready image. So next time you cannot find the perfect coloring page, do not give up. Open your browser, type a prompt, and make your own.
A final tip: always keep a copy of your prompts. If you want to recreate a page or make a variation, you can simply tweak the original prompt. This saves time and ensures consistent results. Happy coloring!
 Sonic Speedster Coloring Page
 Cute Astronaut Floating In Space Coloring Page
 Wwe Wrestler Jumping On Opponent Coloring Page
 Mario Jumping Over Goombas Coloring Page
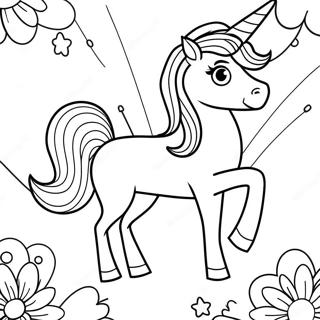 Magical Unicorn In A Rainbow Coloring Page
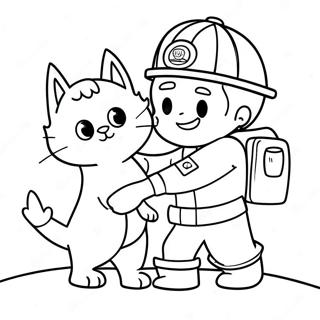 Brave Firefighter Saving A Cat Coloring Page
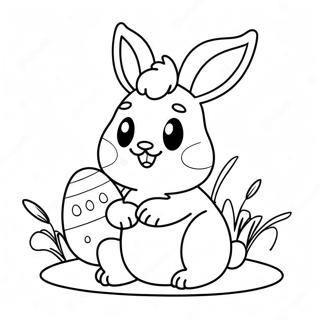 Cute Easter Bunny Coloring Page
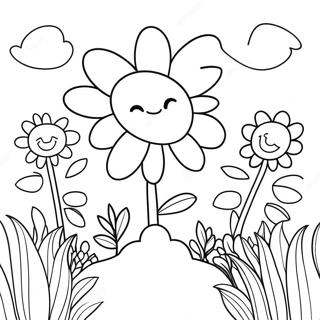 Colorful Flower Garden Coloring Page
 Cute Hello Kitty With Bow Coloring Page
 Spider Man Swinging Through The City Coloring Page
 Chase Paw Patrol Coloring Page
 Colorful Train Engine Coloring Page